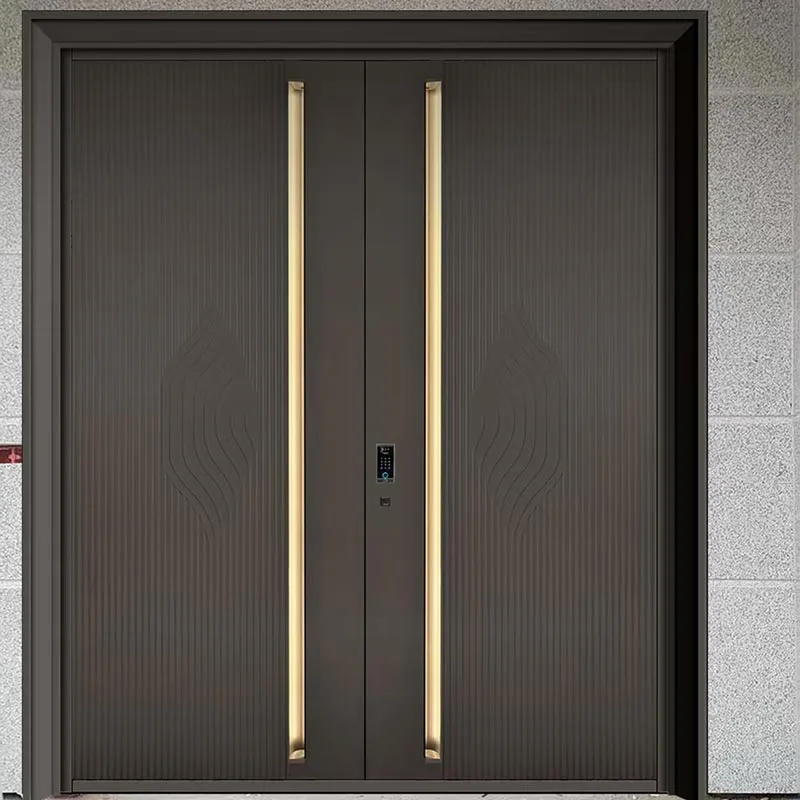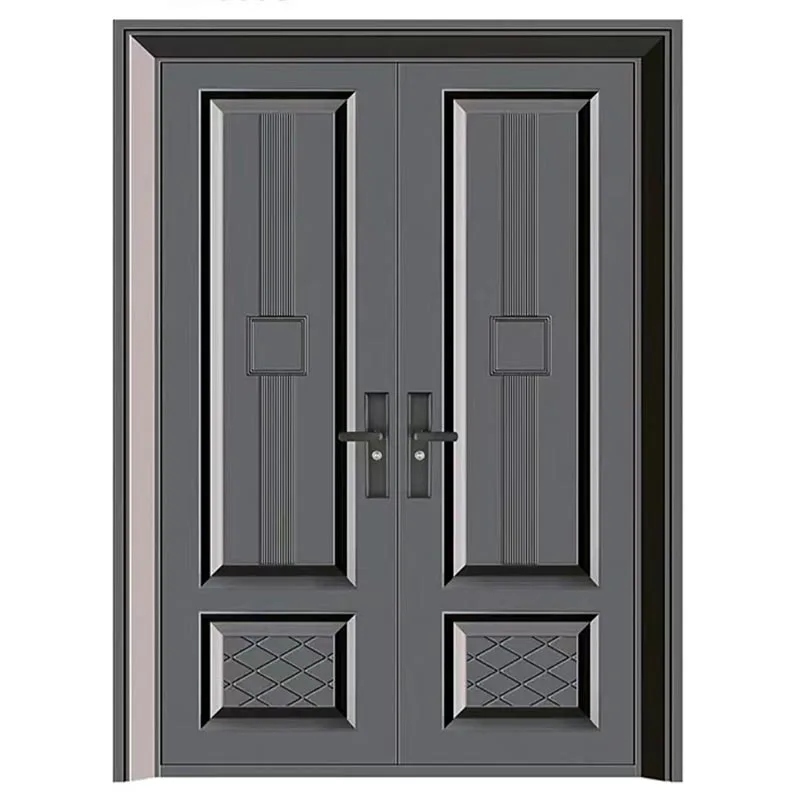

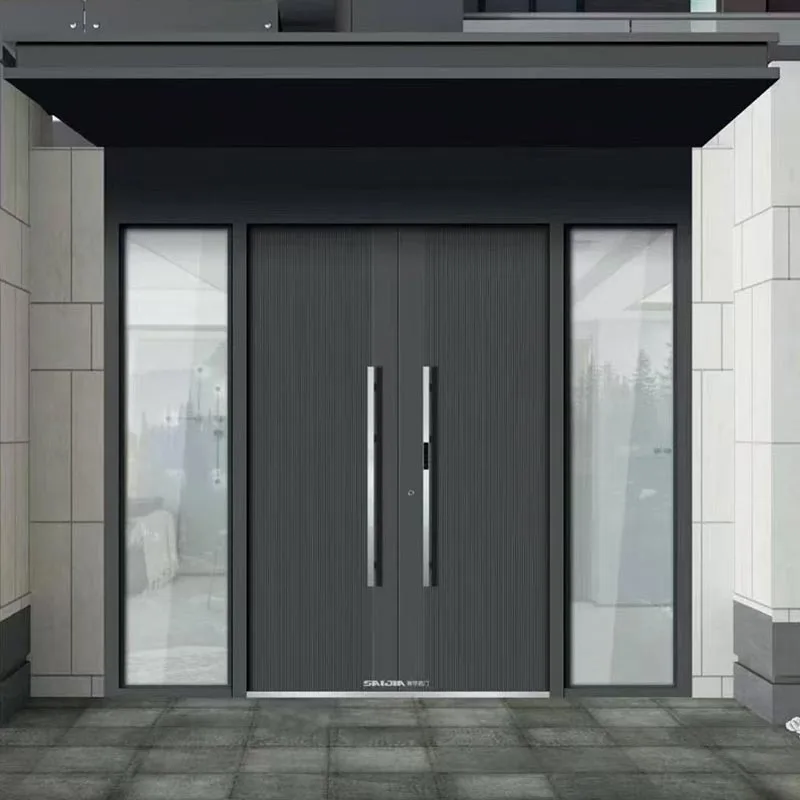
A wet floor near the entrance tells you where water ended up. It does not tell you whether it crossed the door leaf, the frame, the threshold or the wall above.
The first useful observation is where the water appears first, not where the largest puddle forms. Trace that point during rain, record the weather and inspect the door as a complete opening: leaf, frame, sill and wall connection.
Exterior door leaks commonly involve one of five paths: water crosses a leaf-to-frame seal, enters through hardware or glazing, passes through the frame-to-wall joint, runs behind the head flashing, or collects at a sill that cannot drain outward. Water on the interior face during cold or humid conditions may instead be condensation. Dry the area, document the first wet point and inspect the corresponding detail before adding sealant.
First decide whether the water came from outside
A leak linked to rain tends to appear during or soon after exposure. It may be worse when wind blows toward one elevation. Condensation is different: indoor water vapor can collect on a cold interior surface even without rain. The U.S. Environmental Protection Agency explains that moisture in indoor air condenses on cold surfaces and advises checking indoor humidity when moisture forms on windows or nearby surfaces.1
Look for a pattern. Droplets spread across an interior metal face or glass are more consistent with surface condensation. A narrow wet track emerging from behind interior trim, a jamb joint or a lock opening suggests liquid water entering through a particular path. These clues are not a diagnosis by themselves: water can travel inside a frame before becoming visible lower down.
Read the stain from top to bottom
Use the table as a route for inspection, not a verdict. The visible stain is often below the entry point. Start at the highest plausible route and work downward before opening finishes or sealing joints.
| First visible water | Inspect first | What to record | Avoid this shortcut |
|---|---|---|---|
| Above the head trim | Wall drainage plane, head flashing, cladding joint and any canopy or ledge above. | Whether the wall is wet before the door frame and where runoff concentrates. | Sealing the bottom of the head trim while water continues behind it. |
| At one jamb | Frame-to-wall perimeter joint, flashing laps, fastener penetrations and frame corner. | Which side wets first and whether water emerges from behind the casing. | Assuming a leaf gasket is responsible because the stain is close to the door. |
| At the leaf edge | Gasket continuity, compression, hinge or strike alignment and closing position. | Pinched, missing or flattened seal sections and any uneven reveal. | Adding a thicker seal without checking whether the leaf still closes and latches. |
| At the threshold | Sill slope, drainage outlets, pan flashing, end dams and floor level outside. | Where water pools and whether the intended discharge route is open. | Blocking weep or drainage openings with caulk. |
| At the lock or glass | Trim penetrations, fastener seals, glazing beads and their lower corners. | Exact entry point and whether water tracks inside the leaf before exiting. | Coating the entire area with sealant before tracing the path. |
Check whether the leaf actually compresses its seals
A seal only works where the closing leaf contacts it. Look along the head and both jambs for continuity, correct corners, tears, displaced segments and even contact. Then check the hinges, strike and frame alignment. A door that sits slightly out of position may leave one corner loose even when the gasket itself looks new.
For a quick visual check, close the door normally and compare the reveal around the perimeter. Note any daylight or uneven gap. Do not force the handle to make the leaf seal; that can hide an alignment problem. The U.S. Department of Energy's exterior-door weatherstripping guidance specifically calls for adjustment of loose hinges, knobs or strike plates before new weatherstripping is fitted.2
On a large metal door, record which corner is proud or recessed relative to the frame. Photograph the gasket profile and the matching contact surface. If the door has several seals, identify which one is intended to stop direct rain and which is an interior air seal. The owner or installer should use the supplied detail, since adding material in the wrong groove can interfere with drainage or locking.
A dry door leaf can still sit in a leaking wall opening
Water can run behind cladding, reach the top of the frame and appear at an interior jamb. The door's face may remain dry. U.S. Department of Energy building-science guidance says flashing around door openings should overlap in a way that directs water outward and connects to the wall drainage plane.3
Inspect the head, then both jambs. Look for a missing drip edge, a reverse lap, a failed sealant joint at the wall, exposed fasteners, or a gap left by a later cladding trade. A photograph taken before interior casing went on is especially useful because it can show the concealed flashing and perimeter gap.
At the sill, the exit route matters as much as the seal
Water that reaches a threshold needs a managed path back outside. Check the slope of the sill and adjacent paving, the door sweep, the frame corners and any weep outlets. If water stands against the exterior face, a seal receives more exposure than the design may have anticipated.
A drained opening uses a sill pan to collect incidental water and send it outward. The U.S. Department of Energy's Building America guidance explains that the pan should connect to the wall drainage plane and that the sill's outward drainage must remain free.4 The exact detail depends on the wall and threshold design. Ask for the approved section before removing a cover or plugging an opening that looks like a gap.
Take one photo from outside at floor level and another from inside at the same corner. Show the finished floor, threshold, paving or deck, nearby drain and where water first appears. The entrance door size guide explains why finished-floor level and sill build-up belong on the door drawing, not just the nominal opening width.


Double doors, glazing and locks add their own paths
The center of a double door
At the meeting stile, inspect the overlap or astragal, the inactive leaf's top and bottom bolts, the center seal and the threshold junction. A center gap may open only when one leaf moves under wind or when the inactive leaf is not fully secured. The single versus double entrance door guide covers why the active and inactive leaf split changes daily operation and sealing.
Glass and hardware penetrations
Glazing beads, pull handles, smart lock trim and door viewers interrupt the outer skin. Look for a specific track below a penetration and compare it with the exterior position of the component. Do not assume every visible screw needs surface sealant. Some assemblies use hidden gaskets or drainage chambers that must remain open.
If a smart lock was installed after fabrication, provide the exact model and installation template. That lets the factory compare the new cutouts and cable route with the approved door construction.
Make one useful inspection record
The best record is small enough to send, but detailed enough for someone who has never seen the site to locate the problem. Include these items in one message:
Dry wet flooring and finishes promptly while the source is investigated. EPA guidance recommends drying damp materials within 24 to 48 hours and fixing the water source.5 If water reaches electrical hardware, isolated wiring or damaged wall finishes, arrange an appropriate site professional before testing or re-energizing the affected equipment.
For a disputed or recurring leak, a qualified enclosure specialist can plan a controlled field investigation. The test area, sequence and acceptance criterion should be agreed before water is applied. A garden hose aimed at every joint at once may reproduce a puddle without showing which joint admitted it.

What a manufacturer can check from the record
Hongfeng's Company Strength page describes EPDM sealing strips and a multi-layer sealing design. The page also shows fabrication equipment. Those are descriptions of the company's product approach, not a published water test for the installed door in question.
With the door ID, approved sections and site photos, the factory can compare the intended gasket route, meeting stile, lock openings and frame drainage with what was built. The installer or enclosure team must also review the head, wall connection and sill pan on site. That division is important when water appears behind the interior casing rather than at the leaf edge.
How to prevent the same leak on the next door
On a new project, require the door supplier and installer to coordinate head, jamb and sill sections before fabrication. Show the wall drainage plane, flashing laps, threshold slope, finished floor, exterior paving and the path for incidental water to exit. Identify who seals each joint and who checks it after installation.
For an exposed entrance, record the rain direction, overhang and site condition in the RFQ. The coastal and humid climate door guide covers materials and exposed hardware. A product photo can start the design discussion; the coordinated opening detail helps prevent the next leak.
Frequently asked questions
Why does my exterior door leak only in heavy wind-driven rain?
Wind can push rain toward joints that stay relatively dry in calm weather. Record the wind direction and the first wet point, then inspect gasket compression, the meeting stile, the frame-to-wall joint and the threshold. A controlled site investigation may be needed because the visible puddle can be below the actual entry point.
How can I tell a door leak from condensation?
Condensation often forms as droplets across a cold interior surface and may occur without rain when indoor humidity is high. A narrow wet track from a joint, trim edge or threshold during rain points toward liquid water intrusion. Record the weather, indoor humidity and first wet point before deciding.
Should I caulk the holes at the bottom of the door frame?
Do not cover an opening until the approved door and sill details identify its purpose. Some openings are intended to drain water outward. Blocking them can hold water inside the frame or redirect it into the wall. Photograph the openings and ask the supplier or installer to identify them on the drawing.
Can a new gasket stop water entering under the door?
It may help if the existing sweep or perimeter seal is damaged, but first check leaf alignment, threshold position, water pooling and the sill's drainage route. A thicker gasket can make a door difficult to close without correcting the cause. Replace seals to the door system's specified profile.
What should I send the door manufacturer about a leak?
Send the door ID, approved drawings, photos of both sides, the first wet point, a rain-event timeline, any video captured safely, and notes on door operation or prior repairs. Include head, jamb and sill photos so the factory can compare the product detail with the installed opening.
Send the water path, not just the puddle
Share the first wet point, rain conditions, door ID, drawings and photographs of the head, jamb and sill. That gives the factory and site installer a common starting point for the inspection.
Send inspection details